This isn’t much of an article, the information here is quite readily available elsewhere, but I’m just documenting how I set up a Raspeberry Pi 3 with a removable hard drive to work as a DIY NAS at home. Just so I can come back to it if I have to do it again.
Note: was fun and all, and it does work, but not very smoothly, and it’s a bit of a pain. I should pay Dropbox | Google | Amazon and be done with it. Anyway… [hits publish]
Set up the Pi (no monitor) from a Mac
-
Download the latest Raspbian release at http://downloads.raspberrypi.org/raspbian_latest
-
unzip the file to get a
whatever-version-raspbian.imgfile -
Insert micro-SD card in plastic adapter into the SD slot for my mac
-
spot the mounted SD card from the command line:
$ df -h Filesystem Size Used Avail Capacity iused ifree %iused Mounted on [...] /dev/disks3 xxGi xGi xxGi xx% xxxxxx xxxxxxx 0% /Volumes/MYCARD -
My SD Card is on /dev/disks3, now (substituting the actual number to the 3 given here) I can transfer the .img to the card.
$ sudo diskutil unmount /dev/disk3s1 # unmount (but do not eject) $ sudo dd bs=1m if=./whatever-version-raspbian.img of=/dev/rdisk3 # copy on disk 3 (substitute proper number) -
add an empty file on the SD Card, simply called
ssh -
eject the card:
$ sudo diskutil eject /dev/rdisk3 -
transfer the SD card to the pi, plug it with an ethernet cable to the router, and power it up.
-
log in to the router’s admin page in your browser. For me it’s at http://10.0.0.1/. You should be able to see your Pi in the list of attached devices, with its IP address and network name, say
10.0.0.6 / raspberrypi -
ssh to the pi with
ssh pi@10.0.0.6with the defaultraspberrypassword (good idea to change it) -
complete the install process :
- select
expand the filesystemand reboot when it’s done - connect again with ssh and do some house cleaning:
sudo apt-get updateandsudo apt-get upgrade
- select
-
Let the Pi share its screen:
pi@raspberrypi ~ $ sudo apt-get tightvncserver # download VNC server pi@raspberrypi ~ $ tightvncserver # start VNC server pi@raspberrypi ~ $ vncserver :0 -geometry 1920x1080 -depth 24 # start VNC session -
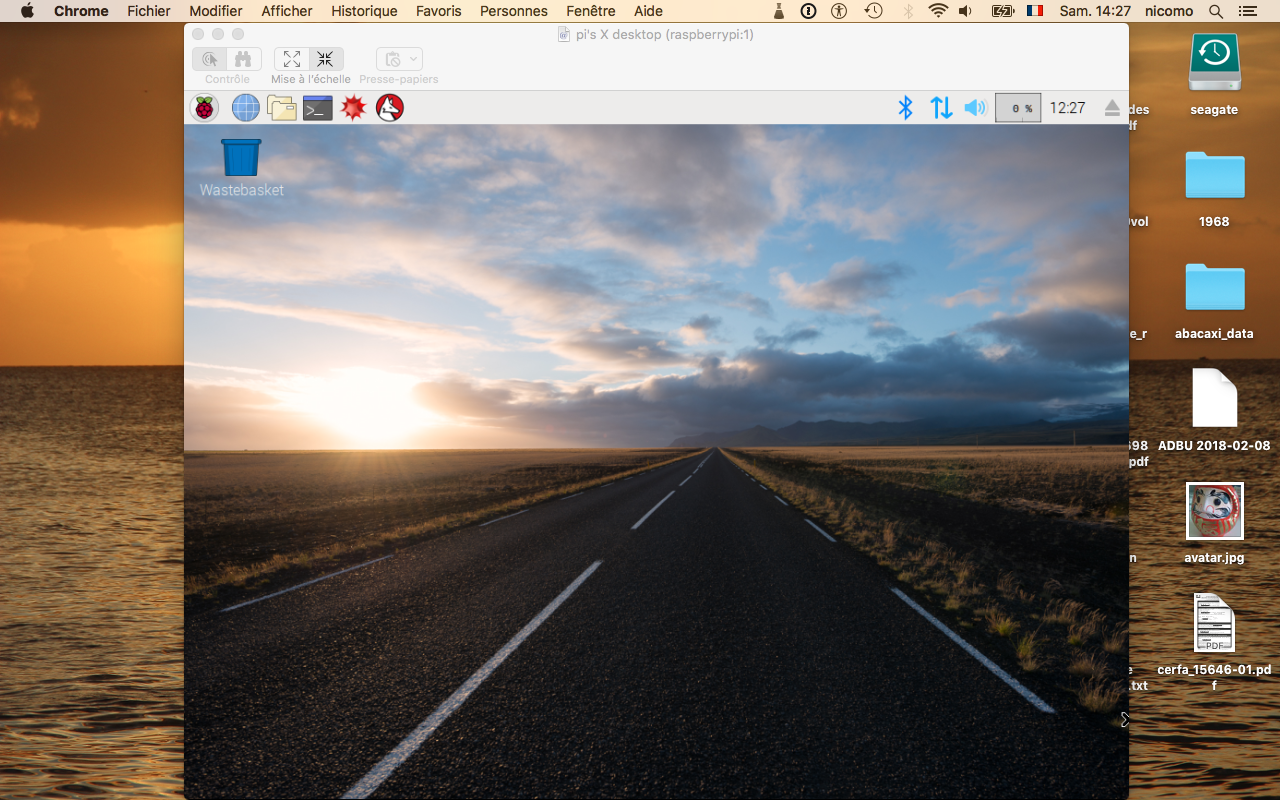
Access the screen on the Mac: in Finder: Go > Connect To Server >
vnc://10.0.0.6:5901and provide the pi’s password.
Your Pi is ready and you should see a nice window within your mac.

Hard Drive
Basically follow https://www.raspberrypi.org/documentation/configuration/external-storage.md, id est
sudo lsblk -o UUID,NAME,FSTYPE,SIZE,MOUNTPOINT,LABEL,MODEL
# identify the name of the disk partition that points to your HDD, e.g. sda1.

sudo blkid
# get the location of the disk partition e.g. /dev/sda1. Also take not of the drive's UUID, which you'll need later. Should look something like 810A-1B1D

sudo mkdir /mnt/PIHDD
sudo mount /dev/sda1 /mnt/PIHDD
But you also want the Pi to automatically mount the disk on boot, and at the same place. So get the UUID of the Hard Drive using sudo vi /etc/fstab and add a line at the end looking like thus: UUID=5C24-1453 /mnt/PIHDD exfat defaults
cf man fstab for more info.
Sharing with your mac
On the Pi
- install netatalk:
sudo apt-get install netatalk - edit the default configuration to allow the Pi user to access the /mnt/PIHDD we just created:
sudo nano /etc/netatalk/AppleVolumes.default```
At the end of the file, after or instead of Home Dir, add /mnt/PIHDD and name it, e.g. MyMedia, then restart netatalk: ```sudo /etc/init.d/netatalk restart```
On the Mac:
- Finder > Go > Connect to server >
afp://10.0.0.6/mnt/PIHDD - make the mount sticky on the Mac side in System Preferences > User account > adding the volume to the login items.